Sunday, April 14, 2019

Code Recipe: How to generate random alpha numeric string in C# .Net


This C# .Net code is from the Code Recipes series of Test Automation TV YouTube Channel.
The full explanation of the code is available in the video.


public string GenerateRandomString(int stringLength = 10)
        {
            if(stringLength < 1)
            {
                stringLength = 10;
            }

            StringBuilder retVal = new StringBuilder();

            Random rNumberSmallCapsOrSpecialChar = new Random(DateTime.Now.Millisecond);

            int typeOfCharToGenerate = 1;

            for (int i = 0; i < stringLength; i++)
            {
                typeOfCharToGenerate = rNumberSmallCapsOrSpecialChar.Next(1, 4);

                switch (typeOfCharToGenerate)
                {
                    case 1:// generate a number
                        retVal.Append(rNumberSmallCapsOrSpecialChar.Next(0, 9));
                        break;
                    case 2: // generate a small alphabet
                        retVal.Append((char)rNumberSmallCapsOrSpecialChar.Next(97, 122));
                        break;
                    case 3: // generate a capital alphabet
                        retVal.Append((char)rNumberSmallCapsOrSpecialChar.Next(65, 90));
                        break;
                    case 4: // special char
                        retVal.Append((char)rNumberSmallCapsOrSpecialChar.Next(33, 46));
                        break;
                }
            }

            return retVal.ToString();
        }


  [TestMethod]
        public void MakeRandomString()
        {
            for (int i = 0; i < 10; i++)
            {
                Console.WriteLine(GenerateRandomString());
                System.Threading.Thread.Sleep(10);
            }
        }

This video also shows how to use Visual Studio 2019 test explorer to run tests.
Other topics included are


  1. typecasting of an int to a char in C#
  2. Using StringBuild.Append method
  3. Using Random class and Next method
  4. Specifying default parameter values in methods
  5. Using Sleep method call


Saturday, April 6, 2019

Visual Studio 2019 New Features


Visual Studio 2019 is  geared towards making developers more productive, and innovative. 
It introduces live code sharing, time travel debugging, data breakpoints, C++ low memory foot print, improved VS on Mac, improved power shortcut keys, and much. 


Monday, March 11, 2019

Coded UI deprecated, WinAppDriver & Appium is the future


Learn automated testing with WinAppDriver in my latest course. Five day course launch limited time coupon @$9.99: 
https://www.udemy.com/course/appium-winappdriver-automation-testing/?couponCode=0B4AAB139DEA09114D95

https://www.udemy.com/course/appium-winappdriver-automation-testing/?referralCode=ED22C3A4CE5BB5E22E53

WinAppDriver Vs. Coded UI is a pointless question to ask. Just use WinAppDriver if you're starting UI test automation of your Windows application from scratch. Yes, there will be support for Coded UI for a while, but ultimately it will be phased out. 
The differences between WinAppDriver and Coded UI are given here
You read it right, Microsoft's flagship test automation tool, the CodedUI is dead. Microsoft has started to announce it that it is deprecating Coded UI publicly as well. The C# and VB.Net Coded UI project types are now showing deprecated written right next to them. Various MSDN help articles state clearly that Coded UI won't be supported after Visual Studio 2019. 
This is it, the end of road for Coded UI, see the image below :'(

Proof that Microsoft Coded UI is deprecated


Screenshot, CodedUI C# VB.Net Projects Deprecated


I came to notice this fact when I installed Visual Studio 2019 RC on my Windows 10 PC, in Feb/March 2019. 
I've been using(or wresting with) Coded UI for a quite a few years now. I naturally thought what will be the next solution for UI test automation of Windows applications. 
The Future of Windows Test Automation
The answer was right there alongside the death announcement of Coded UI. The new way to go is according to Microsoft, their free & open source WinAppDriver combined with Appium WebDriver. 
Microsoft recommendation is Selenium and Appium instead of Coded UI
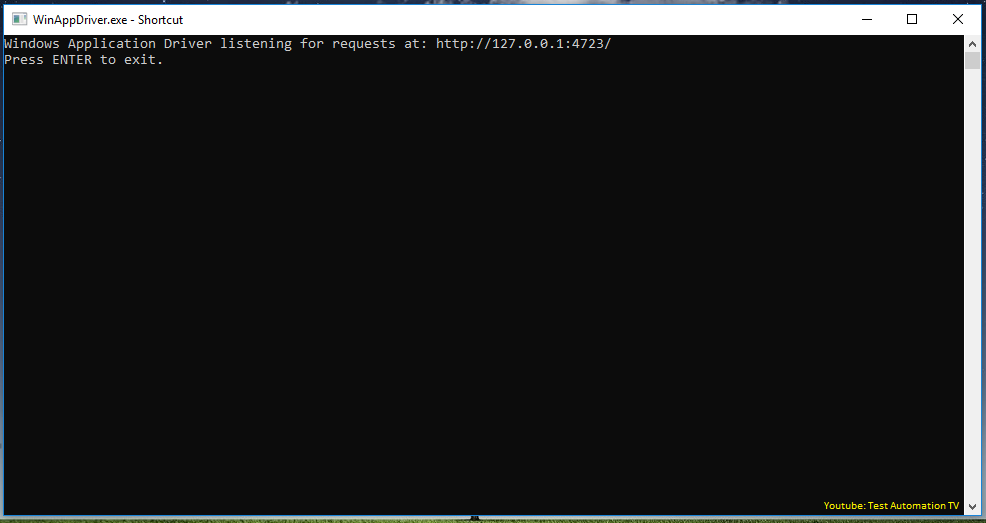
Windows Application Driver a.k.a WinAppDriver is going to be need Windows 10 to run tests. That too in developer mode. Automated functional testing of legacy Win32 applications will be possible on Windows 10. This includes testing WPF, WinForms, and UWP applications using WinAppDriver.
 
You'll need to install Node.js and WinAppDriver for this purpose. Microsoft .Net framework is needed to make it work.
Microsoft Coded UI is dead and deprecated WinAppDriver with Appium in C#.Net is future
You also must have developer mode enabled in Windows 10 to run WinAppDriver.
I will be publishing more tutorials about this topic in the future. Subscribe to my channel and stay tuned. 
The WinAppDriver can be downloaded from the Git repository here
A UI recorder is also available for helping you in identifying control properties. 
Microsoft Coded UI is dead and deprecated WinAppDriver with Appium in C#.Net is future
Your scripts are going to communicate with the WinAppDriver using http. The UI automation code might be written in C# .Net or many other languages available. 
The UI or test automation code can be placed on the same machine as the driver, or on a different machine. 
Microsoft Coded UI is dead and deprecated WinAppDriver with Appium in C#.Net is future
Just in case you want to learn what is Windows Application Driver or WinAppDriver for short all about. I am working to prepare an online Udemy course for the subject. I'm using C# .Net and Visual Studio community edition for the instructions shown in this course. Don't worry, Microsoft is killing a closed source proprietary tool which was pretty evil anyway. The WinAppDriver is free & open source. Entire code base is available for you to see on GitHub. In fact it is a pretty active repository. 
The UI recorder that comes bundled with WinAppDriver is also pretty neat for finding controls and generating XPath for location them. 

Sunday, March 10, 2019

Using text logging library Log4Net in automated tests


https://www.udemy.com/windows-service-programming/?couponCode=HALF

https://www.udemy.com/tcpip-socket-programming-for-coders-using-csharp-net/?couponCode=HALF

https://www.udemy.com/udpsocketprogramming/?couponCode=HALFPRICE

https://www.udemy.com/course/windows-ui-automation-on-azure-devops-build-pipelines/?referralCode=31F4FCC272434D3B1C3C

It is possible to add text logging functionality to our Windows Service or test automation scripts using Log4Net. You can also add Log4J-based test logging to your test automation scripts if you're working on the Java platform. 

Why do we need text logging?
We need it because it allows us to learn about the internal state of our test automation scripts or Windows Service. The applications which don't have a console available to print information can write a text log which can then be used to trace their state for debugging. 
Writing everything to the system log is not viable. That's why putting information in a text file is a common practice. So that you can know what flow leads to an error or a service crash
I'm going to introduce you to the Log4Net logging library
Apache Log4Net is a free & open-source logging library. It is used to generate rolling text log files
Rolling means that the library is responsible for rolling the log files
In other words, creating new files when the file size exceeds a set threshold or the date is changed
Log4Net can be used to write information to various logging targets, including network and databases
Using a logging library means we're not reinventing the wheel.
It helps us to change what gets written to the log file based on specific configuration values
Now that you know why we're using a logging library, you can go to Visual Studio and continue coding.

Thursday, February 21, 2019

How to install a .Net based Windows Service using InstallUtil.exe, see its status, start/stop it


How to Install a Windows Service Using InstallUtil and command prompt from Naeem Akram on Vimeo.


A demo day be really frustrating or it can be the happiest day of an IT professional's life.
Now I'm going to demonstrate the stuff which we've created so far in this course

You may join my course with special discount using the link given below.

https://www.udemy.com/tcpip-socket-programming-for-coders-using-csharp-net/?couponCode=HALF


The windows service solution is already open
I'll go and click build and build solution
Now I'm going to expand solution explorer
And click the button , "Show all Files"
Next I'm going to expand the "bin" folder
 then I'll right click the "debug" folder and select "open folder
 location"
 Take a brief look at the contents of this folder
The file Udemy Windows Service dot exe is going to run as our service.
For this purpose, we're going to use installutil.exe
It is shipped along with Microsoft .Net framework.
For this purpose I'm going to launch the developer command prompt
I'll click the Windows Button and type "Developer command prompt"
The developer command prompt for vs is showing on top
I'll right click this shortcut and select menu option "Run as
administrator"
Now I'm going to type the command installutil.exe space -i space
And then the path of the file which we want to install as a service.
I'll go back to the debug folder and shift right click the Udemy
Windows Service .exe file
I'll select the context menu option "Copy as path"
Now I'll go back to the command prompt windows
I'll right click it and select context menu option edit
And then select Paste

The full command is installtuil.exe pace minus i space path of
our windows service exe file
I will hit enter key on command prmopt

The system shows that the commit phase completed successfuly

Let us see if the service is showing up service control managter
or not
I'll open the SCM by pressing Windows R and typing services.msc
Inside the name column, I'll look for Udemy Demo Service
We can click inside the name column and press Udemy
You can see our very own Windows Service named "Udemy Windows Service"
 along with the descritpion
"My hello world servoce" right here
And it has got logon as "Local System"
You'll see that status of the service will change to "Running"
The actions button on top right will also change from start to stop
 and restart
I'm now going to click the stop link and that should stop the service
without any fuss
You see a progress bar popup
And the service status is changed to stopped.
That is it for this video
In the next one we'll take a look at the event log